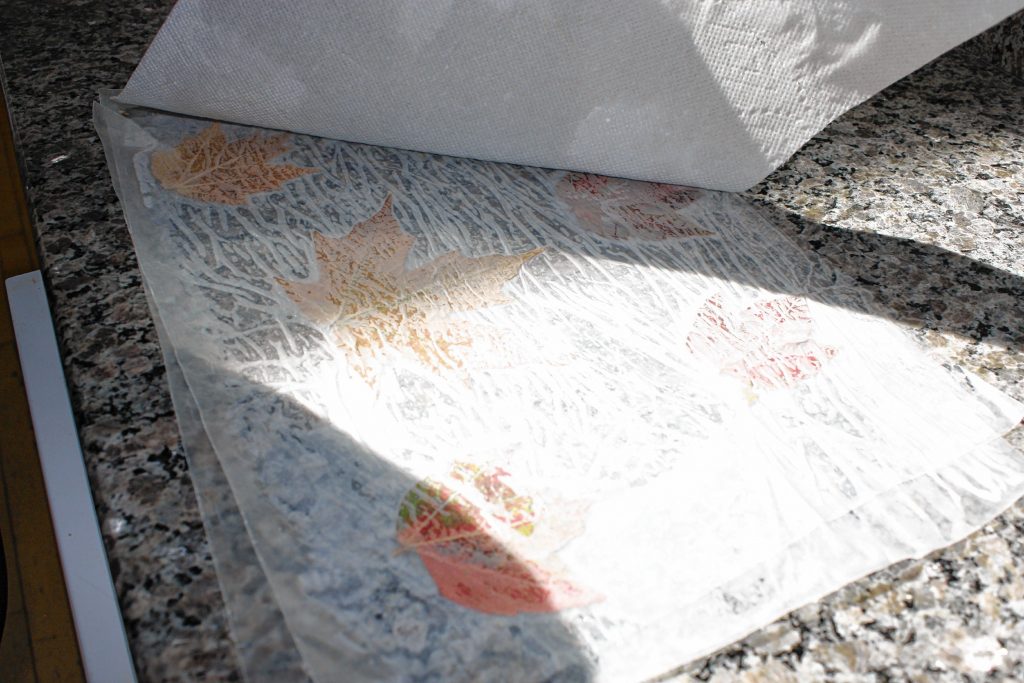
In honor of the Foliage Issue, we wanted to do something for the Go Try It that had something to do with fall leaves. And since our last few installments featured something you could eat, we wanted to try something else for this week’s edition.
Dave Anderson at the Society for the Protection of New Hampshire Forests tipped us off to a fall craft that kids have been making for generations. The craft can have many names, but basically it just involves placing some fall leaves between two sheets of wax paper and pressing a hot iron over them to transfer the wax to the leaves, preserving those fall colors for up to a few months. Then, you can hang the leaves around the house for decoration.
(Speaking of fall crafts, The Place Studio & Gallery is holding a Fall Leaves Workshop on Saturday featuring watercolors and needle felting.)
It seemed like a simple enough task, but it didn’t turn out that way for us.
I had plenty of fallish leaves around my house, and I thought it would be a good idea to collect some from the ground and some right from the trees – I thought there may have been a difference between crunchy, dry leaves and somewhat moist and flexible ones, so I wanted to get some of each.
Once the leaves were collected, I brought them inside and fired up my iron to let it heat up while I found some wax paper.
I went into this with very little instruction – all I knew was that I was supposed to put the leaves between wax paper, put a light towel over the top and iron. I didn’t know how long this was supposed to go on for, or if I was supposed to flip the whole thing over at some point, so I was just going to see what happened.
The first attempt did not go well. My wife, Aimee, who was helping me with this project, noticed quickly that the paper towel on top of the wax paper, meant to protect the iron from getting all waxy, was getting wet – too much steam coming from the iron.
After a few minutes of ironing with low steam, we lifted the paper towel and then the top layer of wax paper, only to find that everything was pretty damp. There had been no wax transfer at all, and everything was sticking together from the steam that had penetrated the sheets.
Note that this attempt was done directly on the granite countertop and not an ironing board – maybe the nonporous surface had something to do with all the steam?
For our next attempt, we started over – new leaves, new wax paper, new paper towels. This time we turned the iron’s steam off, leaving just a dry heat. We also put a dish towel under the sheets, figuring that might solve the steam problem.
We applied the dry iron to the sheets for probably 10 minutes, but when we lifted the top layer, again there was almost no wax transfer. In a fit of frustration, we tried ditching the top towel and putting the iron directly on the wax paper, but, predictably, all that did was melt some wax onto the iron.
Have any of you tried this craft before and been successful? What was your secret? Let us know by dropping us an email at news@theconcordinsider.com.


