
Since it’s Youth Art Month (in case you didn’t get the memo), and you might consider us childlike from time to time – as well as art enthusiasts – we figured it would be a great time to learn a new creative skill.
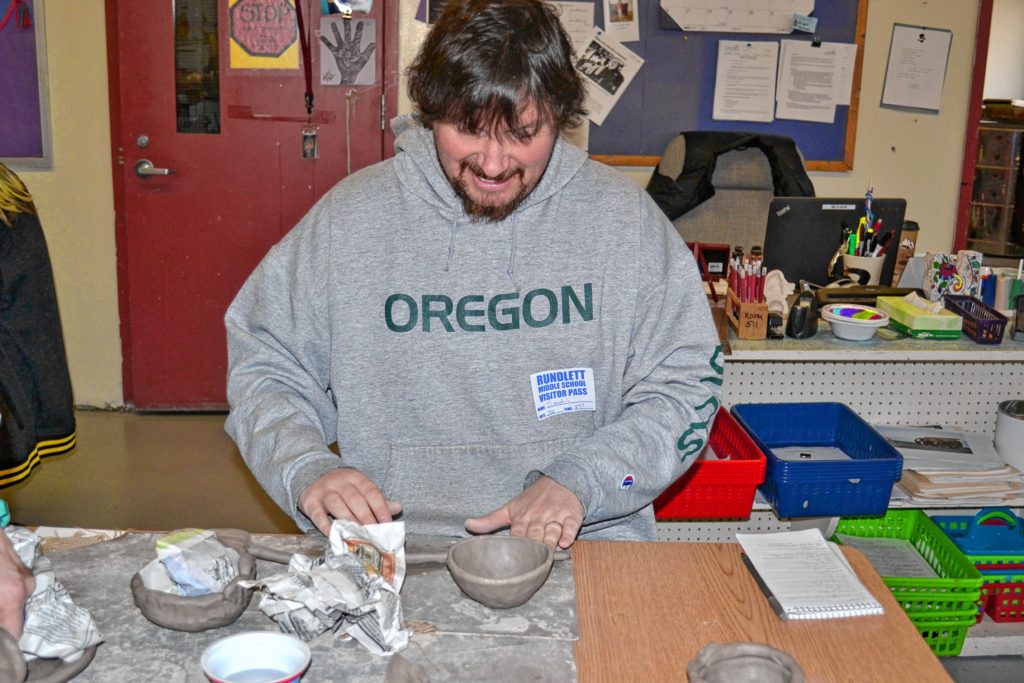
And what better place to do so than a middle school art class? It just so happens that students in Kristi Nyhan’s eighth-grade art class at Rundlett Middle School were starting the process of making bowls to be sold at SouperFest. Talk about impeccable timing, considering this issue also features all the info you’ll need for Saturday’s SouperFest!
Now, we could have just observed the students as they made their one-of-a-kind bowls, but where’s the fun in that? This is the Insider, after all, and any time we can join in the fun, that’s exactly what’s going to happen.
After Nyhan gave everyone a quick demonstration of how to turn a lump of clay into something that resembled a bowl, the class gathered all the materials they needed – a block of clay and a mat.
The first step was to take a portion of the clay and roll it into a round shape about the size of a tennis ball. Once you achieve the desired thickness and smooth outside, you poke your thumb into the center of the ball until you get about a ¼ inch from the bottom. That’s the thickness you want for your entire bowl. So from there, you pinch from the inside to create the sides and get the desired thickness. Then you pinch the sides to make sure they’re even all the way around.
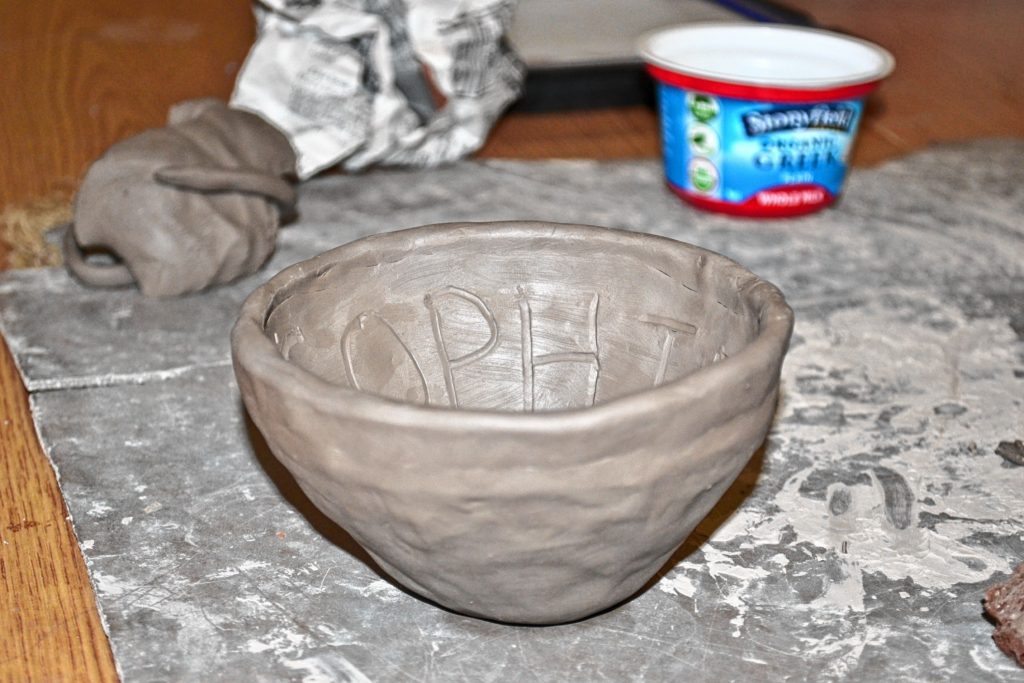
As you’ll see, we made a deep and not very wide bowl, and we’d like to say that was on purpose, but that’s just how it turned out.
To add some depth to the boil, you take some of the extra clay and roll it out, much like you’d do with pretzel dough, until you get the right thickness and length to put it on top of your bowl. Then you lay it on top and while giving support to the inside of the bowl, smudge the bowl and coil together to get rid of the seam. Just don’t pinch, because that changes the thickness.
If you’ve ever worked with clay, you understand that the more you try to shape and mold it, the faster it dries out and begins to crack. And as perfectionists, that was hard not to do, but we learned a fingertip of water works wonders.
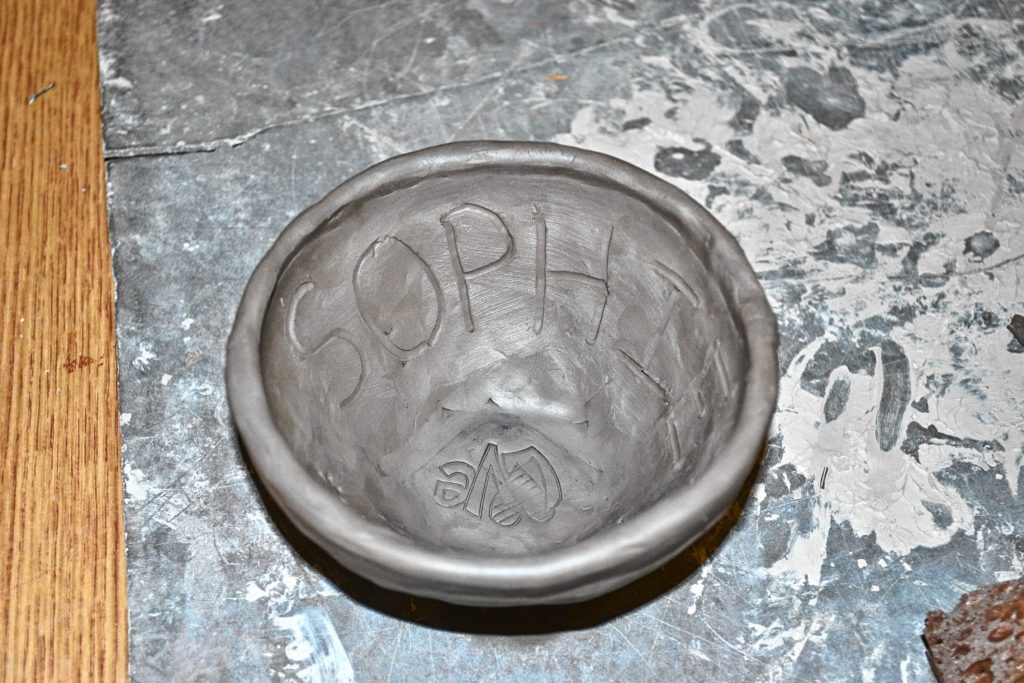
You don’t have to smudge the inside, but we chose to for a more uniformed look. Since we were only there for one, 45-minute class, we stayed a little late to finish up. In all, there were two coils attached, along with etching Sophie’s name inside and a few imprints of kitties, hearts and flowers.
The bowl will be colored by the Rundlett art teachers and fired in the kiln, before making it a little surprise for Sophie – who will likely use it to put tiny knickknacks in, but hey, that’s the life of a 2-year-old.
The rest of the bowls will be available for purchase at SouperFest, so make sure you pick out the one that best fits you.